Wednesday, January 28, 2009

Snowed In!

Like many of you out there, Indiana got a ton of snow last night. Pretty much everything is closed down today. My hubby stayed home, (even though Marian is the only College in the area that held classes today, but from the looks of things none of the other faculty members made it in today either...) so we've been enjoying a lazy day.
Here is a picture of our street, it's kind of hard to tell how much snow we really got...

Here is a picture of our walkway. Before we cleaned it off, I sunk up to the tops of my mid-shin boots. That's a lot of snow!

Here is a photo of a little mini-canvas that I did for my friend Kristin as a thank you for being fabulous. I have to say, I count myself as truly blessed to have her for a friend. She is always so supportive of me and a lot of fun to be with. I made this using beeswax, an image from her collage sheets, and UTEE for the crown.

I liked it so much, I decided to teach it as a class for the upcoming Heirloom Festival. I'll post the class descriptions and times when I have them.
In the meantime--enjoy the day. I'm off to make some hot cocoa and work in my studio.

Sunday, January 25, 2009

Dolls

A few weeks ago I went over to my friend Kris' house and we made art dolls, using her new German Doll sheets, which are now available on fabric sheets. Here are the photos of mine:


I used this stuff called "chicken wire" that's made out of glittery wire for the skirt and the crown. Kris used it to make wings. Take a look at hers:

Friday, January 23, 2009

Mini-Canvas

Hello all:
I know I've been gone for a while. I hit a place where I felt like posting was becoming a bit of an albatross around my neck. I would think of it and then think--ugh, I'd rather be in my studio working. So, I took a bit of a break from posting.
But, I'm back again.
Here is a mini-canvas that is for the IAA swap tomorrow. It's acrylic, beeswax, tissue paper and paper collage. The little tag and window both came from Retro Cafe Art Gallery.

Wednesday, October 08, 2008

Home Again, Home Again, Giggidy-gig

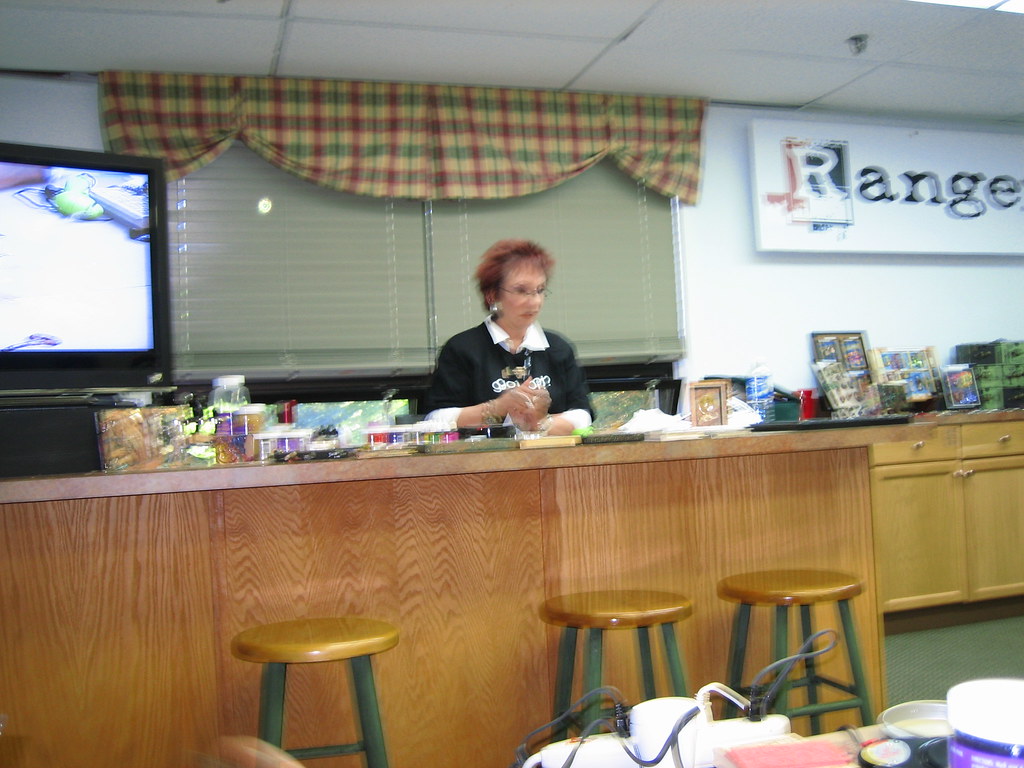
I am back from my amazing whirlwind weekend in NJ. I had such a wonderful time and met so many talented artists and learned so much! I have a ton of pictures and will have to post them over a couple of days. The first day we did melt-art with Suze, who I have to say was my favorite part of the whole weekend.
Here she is (a bit blurry) teaching us all about melt-art.
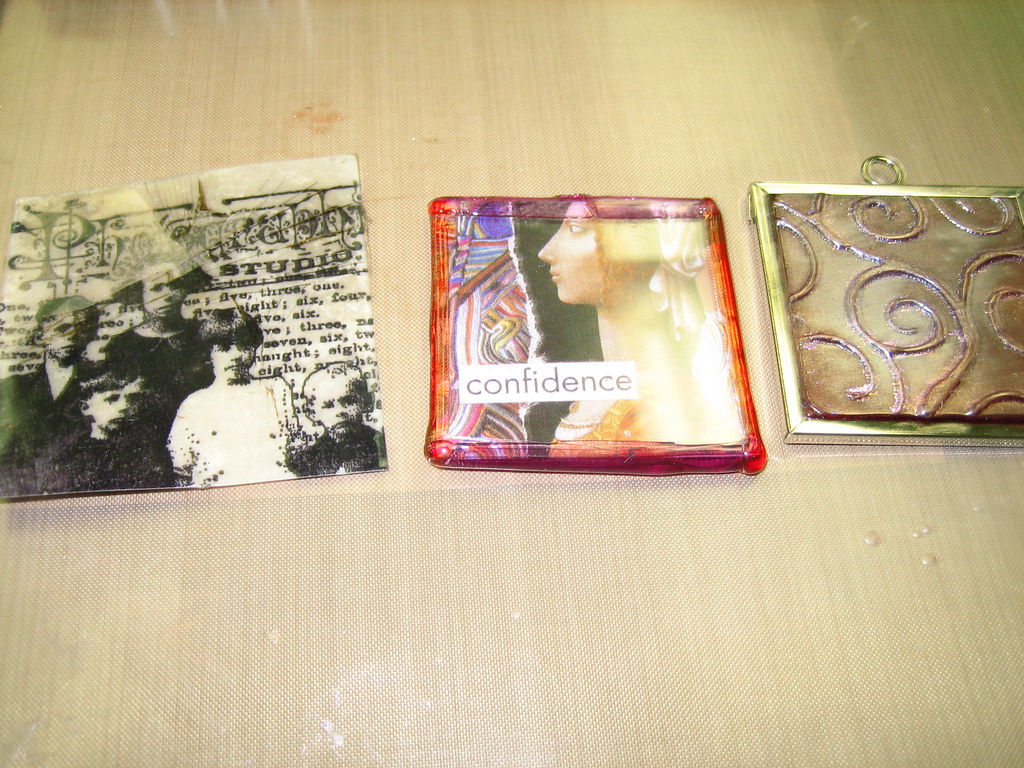
Here is a photo of just a few of the projects we did with the melt-art pot. A crackle aging, a faux colored soldering, and poured colored utee accents with perfect-pearls.
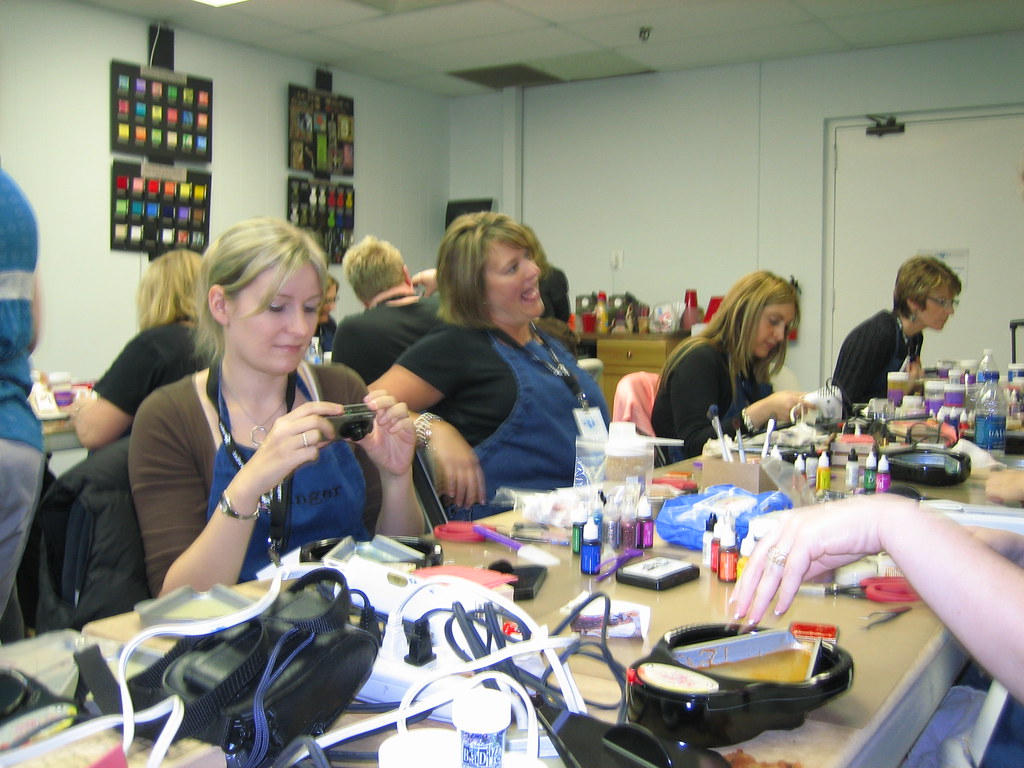
Here is a shot of us working. The blond taking a photo is an amazing artist named Jessica who is from Canada. We had a lot of fun sitting together this weekend.
Here is a photo of three of the projects we did up close.

Here we are holding up our project boards at the end of class--we did nine little projects in all. Can you find me in the photo? It's like artist "Where's Waldo."
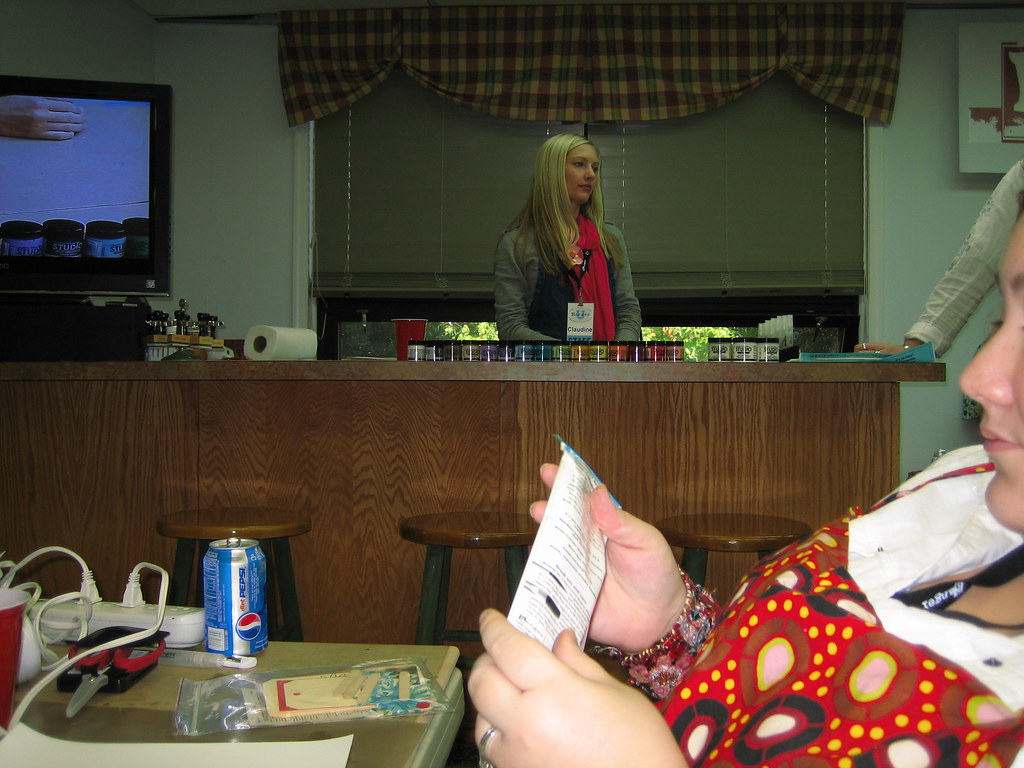
Later that day we were taught by Claudine. Here she is talking to us about our new fine-art products.


I have lots more pictures from my classes with Tim and of my "graduation." I will try to get everything posted in the next day or so! I am so full of ideas and new projects I want to try, I just don't know where to start. Hopefully, I'll be able to put some more "how-to's" up on my blog in the near future.
:)

Tuesday, September 30, 2008

Off to the Wilds of NJ

I am getting ready to leave for NJ tomorrow to attend Ranger U. I am so excited to have been accepted into such a competitive program! I'm going to take lots of pictures and lots of notes. Hopefully, I'll come back with more ideas than I know what to do with.
In the meantime Here are two photographs of some design team work I did for Retro Cafe Art Gallery.

Monday, September 08, 2008

The Mysterious Applegate Family

I know I've been quiet for a while, but I found myself in dire need of a posting break. I had a lot of deadlines in August and I think I got a little burnt out. I just wanted to sit and read, play in my studio without any pressure and take it easy. I love my blog, but the point at which it becomes a burden it's out lived it's usefulness.

But I'm back with some art. I made this little book as part of my design team work for Retro Cafe Art Gallery. I used several slide mailers (which are used to mail microscope slides) and glued them together to tell the story of the Mysterious Applegate Family. Here is the cover tied shut:
Here is the cover without the ribbon blocking it. I used photoshop to create the title cover.

Here are the photos of the inside. You're going to have to excuse my very chipped-up nails. Like most artists--I can't keep a manicure to save my life!


These last two pages use images from Retro's collage sheet titled "The Applegate Family" hence the name of the book.

And here is a picture of the back.

Tuesday, August 12, 2008

Necklace

I've been playing around with casting plaster the last week or so. I wanted a large face to put on an assemblage I'm working on and thought plaster would be ideal. But in the meantime, I made a mold out of a doll hand and cast it to use on this necklace:
Once the plaster was dry (thanks in part to the magic of the microwave!) I painted it with a couple of acrylic washes, added the next and then glued it to the washer. The spikes coming out of the back are actually straight pins that I colorized using alcohol inks. The metal case for the necklace is made out of metal repair tape on top of heavy cardstock. I inked it with alcohol inks and then embossed it using some distress powder. It doesn't show very well in the photo because of the glare, but you can see a little bit of the embossing in the corner. I cut the pages and made the book, ran the ribbon (hand dyed using a combination of walnut ink and perfect pearls heat-set with an iron) through a hole that I pierced at the top and put the whole thing together.
Viola--a lovely grungy necklace. :)

Sunday, August 10, 2008

Alcohol Inks Card

It was my anniversary last weekend and I made this card using alcohol inks for my dh.
The process is really quite simple: using a non-stick craft sheet drop several colors of inks and a little bit of blending solution then push a piece of shinny card-stock onto it and lift off. Repeat until the page is covered. When I was done, I embossed the stamp (which is from Paperbag Studios) and then I dropped some blending solution on the card. That's what caused the white-ish spots. I also dropped a good amount of blending solution inside the heart to lighten it up. The swirl is chipboard that I inked with metallic green ink, heat set, stamped with stazon, heat set again, and then embossed several times with UTEE.
Hope everyone is having a great weekend. Hopefully I will be back tomorrow with more work.

Thursday, August 07, 2008

Boo!

I had so much fun working on my altered bird houses for the swap that I decided to do another one. I was in the mood for Halloween so I made a "haunted" bird house. For the roof I used tyvek, which I painted with black and copper paint, and then heated it with a heat-gun. Once it was cool, I cut it into strips and glued it to the roof. I finished it off with some copper tape on the top. It was a massive pain to glue it down--and I wondered what I was thinking while I was doing it--but in the end I think it turned out great.

Here is a close-up shot of the baby fairy-witch that is sitting on the side of the house. You can see the green metal stars that I hung using some black fibers.

Tuesday, August 05, 2008

News! News!

I have been a busy little bee this last week. And I have some great news!
First-up: the newest volume of Page By Page is due out on the fifteenth, featuring an article and art work by yours truly. Kira's Zine, is always a treat and I am thrilled to be a small part of it.

Second: I had a piece accepted by Altered Arts Magazine. It should be in one of the winter editions--probably around the first of the year. I'm also writing an article to go along with it.

And lastly: I had a third piece accepted by Somerset Studios for their forthcome "Art Journal" publication. It's due out in January of '09. There isn't much info about the new magazine on their site--so I'm not even sure if it's quarterly or simply a "special edition." I will keep you posted.

In the meantime, here is a picture of my house atcs that I made for last month's swap at IAA. I've had this photo sitting on my desktop for forever and just kept forgetting to post it. I actually punched holes in my atcs and made them into a book--that turned out so cute! I just need to make a cover for it.

Now, you need to hop on over to Kira's site and pre-order her zine. I'm serious. Go now!


Are you going yet???
:)

Wednesday, July 30, 2008

Bird House No. 2

Here are my photos of my second altered bird house. This one I painted using ranger's distress crackle paints. Once the paint was dry and all crackled-up, I inked it with some dark brown stazon ink. The roof tiles are made of punched paper that I edged with brown ink. The green tiles were stamped before they were punched.
Each of the children have wings that were made from a stamp that I embossed with gold.


These were a lot of fun to do--I've got one more that I think I'm going to do, not for the swap, but just for me!

Monday, July 28, 2008

Altered Bird House

Here are some photos of the first of the altered bird houses I did for the swap at the IAA. I used acrylic paint and paper, along with permanent ink. I stamped the swirls using acrylic paint and clear stamps. It was a little tricky because of the shape of the house, so I actually had to stamp with them without a block.
The roof tiles are paper that I punched out using a 1 inch punch and inked the edges of.
The butterflies are all made out of shrink-plastic. I used white shrink-plastic, stamped with Stazon black ink, and then after it was shrunk, I inked over the surface using chalk ink and embossed. The black comes right through and the color gives it a little added dimension.

Tomorrow I will try to get my photos of my other ones up.

Sunday, July 27, 2008

Photos of India

I know I've been really quiet this week. But I had a nasty stomach bug that just wouldn't quit. I'm finally feeling better and getting back to my work, and I'm hoping that I'll have some new stuff to put up tomorrow.
In the mean-time, I have these 2 lovely images of India. My mother traveled there two years ago and took a ton of photos. She wanted to print some out and frame them, but she wanted them to have a more fine-art quality. I used photoshop to alter them and I have to say, I'm happy with the result. I did 5 in all, but these 2 are my favorites.

I used the magnetic lasso to highlight the woman, then inverse selected and converted the color profile to black and white. I also turned up the contrast a bit to give it a bit more punch.

I used the same process as above on this one, except instead of sharpening the photo, I used a blur on the area surrounding the elephants to give them more focus.

I hope everyone had a pleasant weekend!

Sunday, July 20, 2008

Thursday, July 17, 2008

Late to the Dance

I am massively late to the dance on this one--the band has packed up and the floor is littered with confetti. But I feel the need boogie-oogie all by my lonesome for a moment.
I'm talking about the challenge for the GPP street team for June. It was a rubbing technique, which I won't go into details here since Ms. Ward did such a bang-up job explaining it herself, so you can just follow the link.
While I was trying out the technique something wonderful happened. I was having trouble finding the right paper weight. Too thick, I got no image, too thin, it would tear with water. I was sitting at my very messy table pondering weather or not to throw in my crayons when my eyes lit-upon a piece of tyvek that I'd left out for another project.
For those of you who don't know what I'm talking about, Tyvek is some super-duper-space-age-material that isn't quite plastic, isn't quite paper. It's manufactured by Dupont and wonderfully enough, is the stuff that they use to make the priority mail packages at the USPS. You know the ones that they give away for free....
Anyway, this stuff is water-proof, tear proof, and does fun stuff when heated. Best of all, it is thin, so it's perfect for doing a rubbing. Here is what I did with it. I Should mention that I heated the edges to cause it crumple and bubble a bit; which is why it isn't flat.


And here is how I incorporated it into a piece in my art journal:

I have to say, I'm just in love with this technique. I'm going to hit the post office tomorrow and then off to a cemetery to get some rubbing's....

Monday, July 14, 2008

Generosity

I've been thinking a lot about generosity lately. I am so fortunate to be surrounded by generous people. The piece pictured here is a prime example of that: the stencil was a gift from my friend Kris as was the label "hope chest", the photo came from a member of IAA, and the beads came as a gift during a mail art swap.
I made this as a gift for a friend of mine who is in the middle of working on her doctoral dissertation on Polish feminist bloggers. I find this topic incredibly fascinating since I myself am two out of three. She has been incredibly generous with me in not only discussing her work, but mine as well. Debating artist philosophy, meaning and process with me over email. I count myself blessed to have such a wonderful and giving friends. Artists and non-artists alike.

Friday, July 11, 2008

altered tin


I made this little tin the other day and just hadn't gotten around to taking a picture of it. I wanted something that I could throw in my purse to keep Advil/antihistamines in. I bought an altoids tin--it's for the "minis." I liked it because it slides open, and takes a little bit of pressure, so i figured it would be less likely to come open in my purse and dump out. I tried sanding it first...but the shape just wasn't conducive, so I spray painted it silver instead. Once it was dry, I alcohol inked it. I drilled a hole in the end for the charm (made from shrink plastic and pearl-ex), and glued a photo of one of my ATCs that I like. I punched out stars and colored them it with some gel pens and used some rub-ons for the swirls. Once it was dry, I spray-sealed it and viola--all done.

Monday, July 07, 2008

How to drill a hole in a fragment

I am absolutely in love with all the wonderful Plexiglases crafting products that are out there. And a good many of them don't come with holes drilled in them. So I thought I'd post a little how-to for drilling. It's not as scary as you might think.
Here's what you'll need: a drill with a small drill bit--I'm using 1/16th bit that is made to cut through metal. Safety goggles, a drilling block (this needs to be big enough to be sturdy and level so that it doesn't wobble. I use an old wood cigar box.) Wall putty/sticky tack (this is the stuff that you use to stick stuff to the walls without leaving a mark.) And whatever it is you're going to be drilling. (I'm using a prong frame from retro cafe art gallery, but the process is the same for fragments.)
Here is a photo of my stuff (drill not included.)

Take a small piece of the sticky tack and place it in the middle of the object and then stick it to the surface, this will hold the piece in place and keep it from moving around while you drill. Since I'm drilling through both a prong frame and Plexiglases, I put a second piece of putty between the the Plexiglases and the metal so that I can drill through both simultaneously. Here's a photo of it all ready to go:
I like to pre-mark my holes so that they are even, using a light colored sharpie. They need to be far enough in so that the drill bit won't break through the outer edge. Then, with a steady hand, drill through. Go slowly and try to put even pressure on the top of the drill.


Here is a picture of the charm with the holes drilled through:


Now you're ready to turn this into something! Here's what I made with mine:

Sunday, July 06, 2008

ATC Box

I just finished up this ATC box as part of my work for Retro Cafe Art Gallery. It comes in pieces that you assemble--which makes the decorating process a lot easier. I used chalk inks in purple and brown and then heat set them for the background. I over stamped with some Stazon for the swirls. The trees and leaves are all hand cut out. And the bird is shrink plastic. Each side has a tree and a bird, but I've only posted 2 sides. (sorry my pictures are so bad. I am so NOT a photographer!)

I've been hard at work on some other projects, so I'll try to be good about posting this week. I hope everyone had a happy 4th.

Thursday, July 03, 2008

Shrine

I finished up this little shrine from Retro Cafe Art Gallery yesterday. I used some distress inks on the music paper, and then orange and blue chalk inks (heat-set) and over-stamped with Stazon. The bird is from Retros Birds II collage sheet. I am very happy with how this turned out. All I need is a nail to hang it on my studio wall.