Friday, June 27, 2008

Don't scan tired

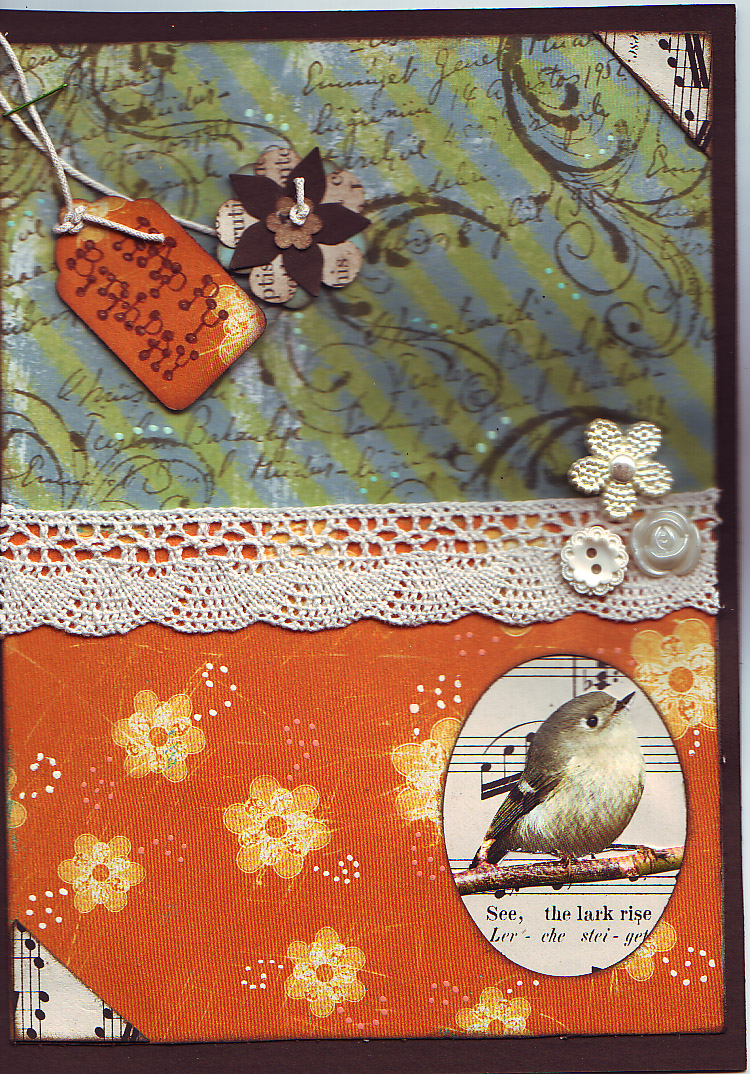
I scanned in this photo of a birthday card that I made using an image from Retro Cafe Art Gallery, (I believe the collage sheet is Birds II) but being that I was really tired and trying to do about 5 things at once, I didn't watch what I was doing and cut off part of the photo in the scan. And of course the card is all neatly sealed in it's envelope and taped to the front of the present it's accompanying, so I cant re-scan it. Sigh.
Oh well.
You'll just have to imagine what it looks like with a brown border all the way around.
I am just in love with this little bird. He is just too cute. And that text about the Lark behind him? Total serendipity. I just picked up a scrap to stick behind and there it was. I love it when things like that happen.
I will see you all on Monday when I return--have a great weekend!

Thursday, June 26, 2008

New Necklaces

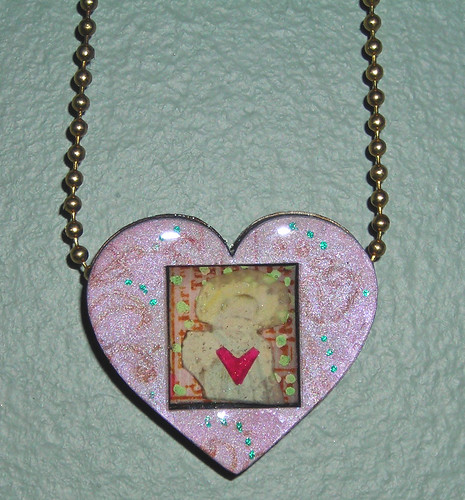
My family is having a reunion this weekend. We don't normally go, but it's the 30th anniversary and so we're going. There's always an auction and I've made 2 necklaces to put in the auction. This first one is a new design that Coffee Break Designs is working on for a heart shrine (It might go through some changes still...) I inked it using chalk and metallic inks and stamped with stazon. Glued in the collage and sealed it using UTEE.

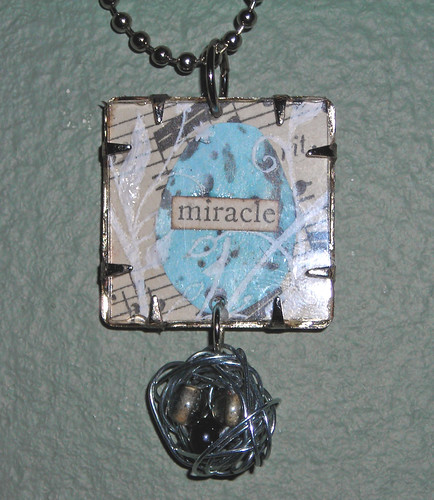
This lovely charm and the image in it both come from Retro Cafe Art Gallery. I drilled two holes in it and turned it into a necklace. I wove the bird's nest out of wire.

Thursday, June 19, 2008

Some New Work

The last couple of days I've been working on some new jewelry pieces. I wanted to make a necklace for my friend Sarah who is spending th summer doing research in NY. I made this for her:

The bottom charm is actually a shrink-plastic charm made out of a ticket stamp. I glued the word onto it once it was cool and then embossed clear embossing powder on top to seal it in.

Here is a picture of the package all wrapped up and ready to go to her:
This next piece I did as part of my design team work for Retro Cafe Art Gallery. The girl is from her "Lucy" set and the mini-shrine is something she carries in her altered art supplies. I filled it with UTEE and heated it to seal in the tiny-heart. I then inked it with alcohol inks in purple and silver.
For both of the necklaces, the acrylic squares are fragments by Tim Holtz. I drilled holes in them to turn them into charms.

Wednesday, June 18, 2008

Believe Book Part 2

Here are the rest of my pictures, continued on from yesterday.
This spread is one of my favorites in the book--I glued gold beads down for the "l" and punched out some flowers. I turned the larger ones into mosaics using double sided tape and some embossing powder:
This page is pretty straight forward--the hearts are cut out from a vintage text-book and then inked using some distress ink:

The dragonfly and the butterfly are made out of fun-foam, that I heated and stamped into and then painted.

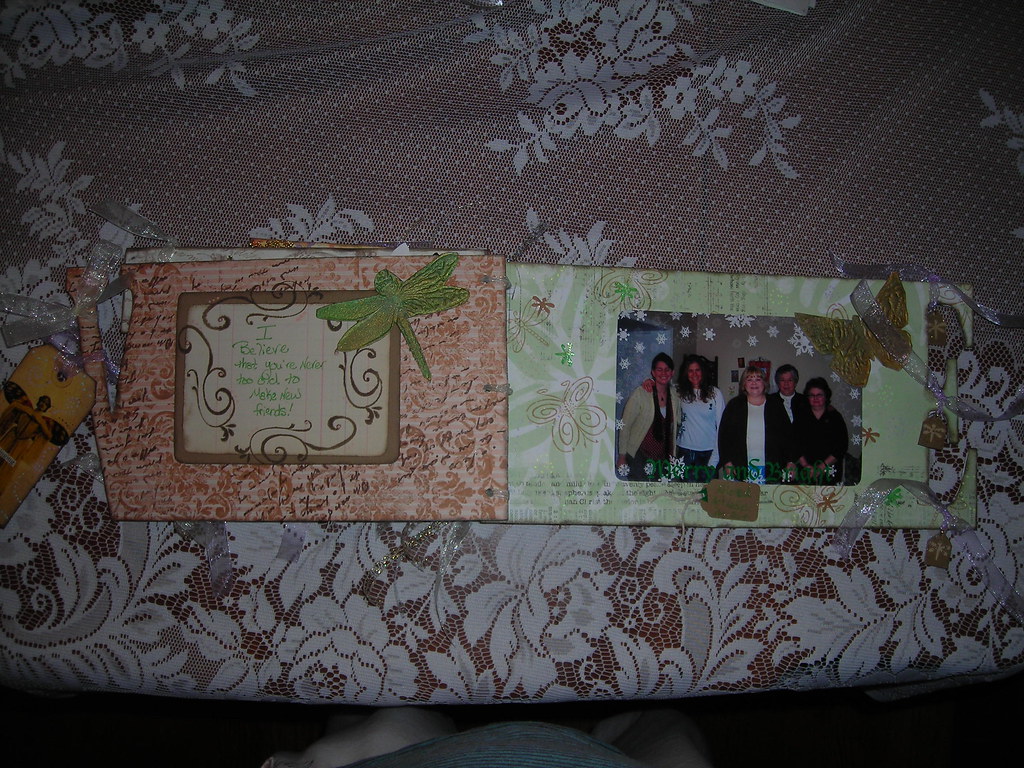
The fairies on this page are transparencies, although it's difficult to tell from this picture.

This is the back page of the book and I made this mosaic using a square punch. I used embellishments from throughout the book as a way to tie it all together.

Tuesday, June 17, 2008

Believe Book

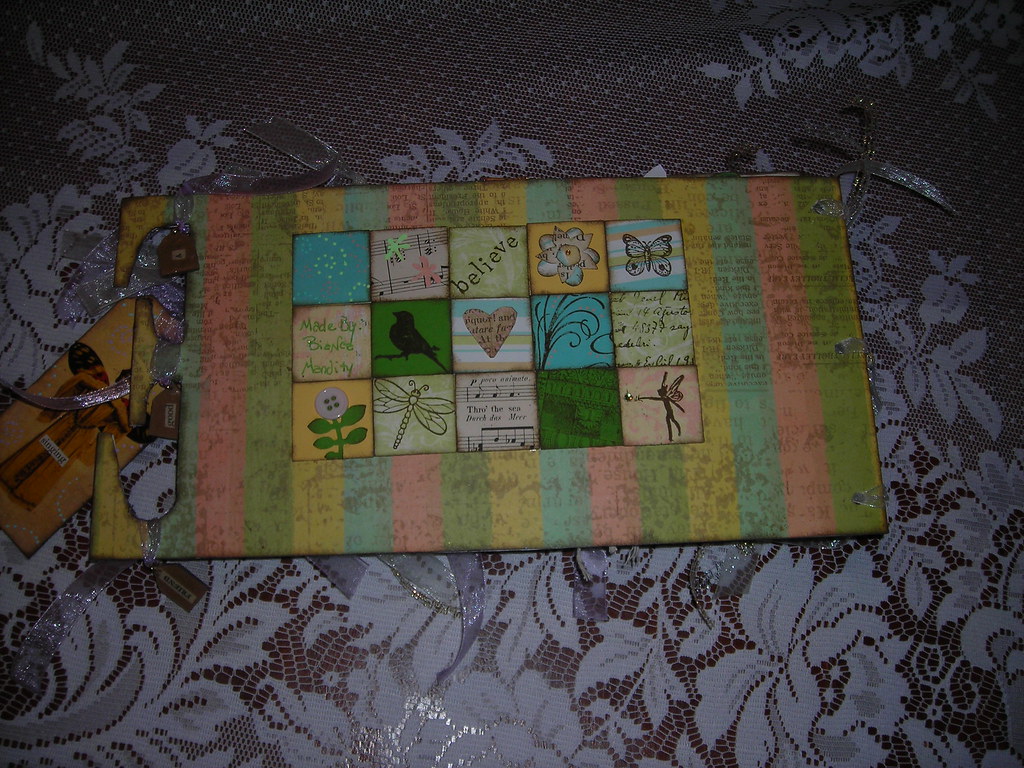
I just finished up this book by BoBunny as part of my design team work for Wishful thinking. Originally I was going to do another fairy book, because it seemed to fit. But when I started working I just couldn't make it happen. So I started thinking about what would work and thought about making a book of my own personal beliefs. I'm going to post the first four photographs and the rest tomorrow.

Here is the front of the book:

Here is a shot of the book open:
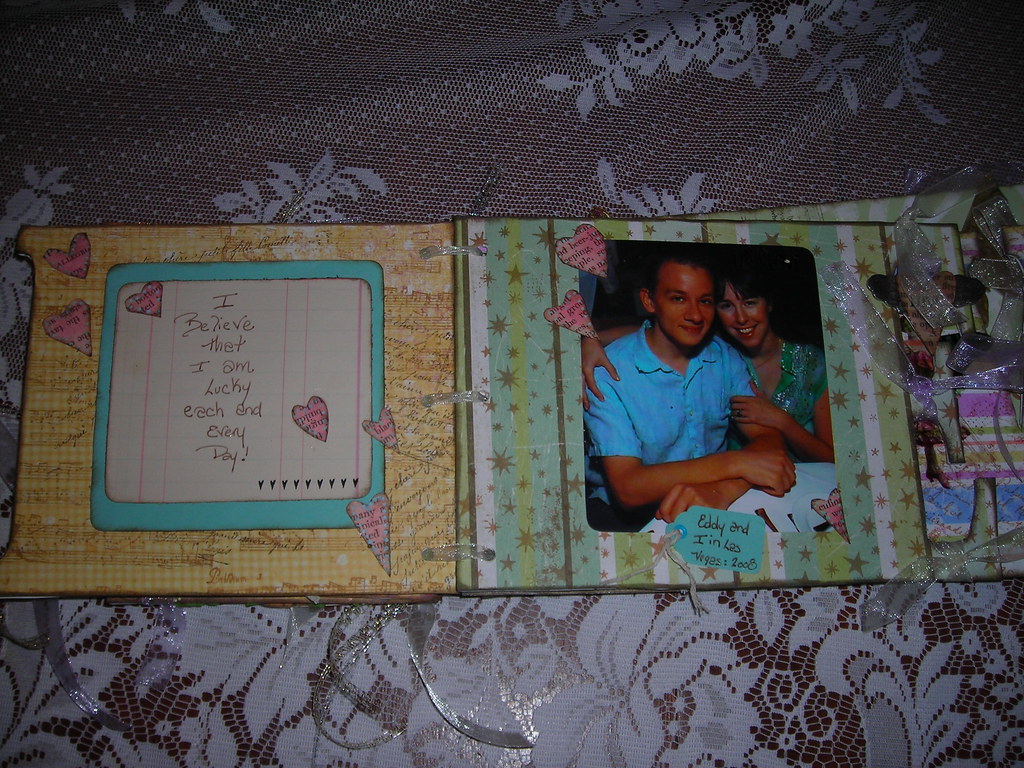
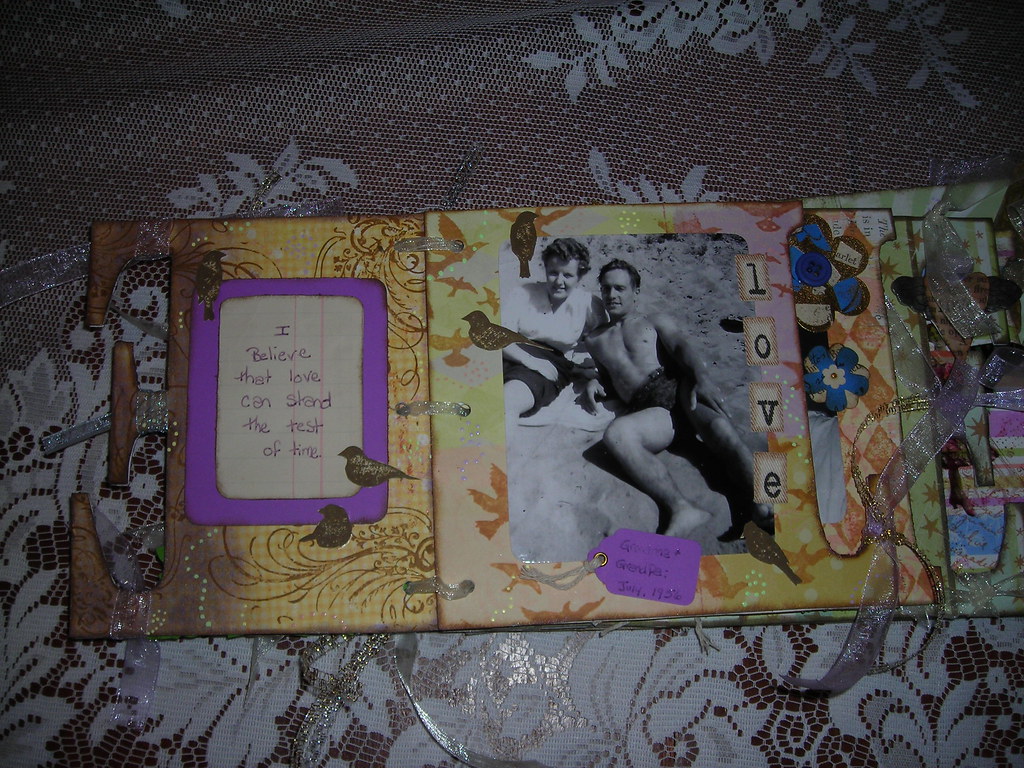
Oops--I accidentally loaded the second page before the first! Well, here it is, with a photo of my grandparents. The letters are cloth.

Here is the first page of the book. I used a punch to create the leaves and then used buttons to make the flowers.
Tomorrow, I'll be back with more!

Saturday, June 14, 2008

Happy Birthday!

It was my hubby's birthday this week and I made him this little card using images by Retro Cafe Art Gallery. I used some pop-dots to create a shadow box effect, which I'm really happy with!

Thursday, June 12, 2008

Back

Hi all:
I am back from an extended break. We had family in from out of town and then some technology issues, due to the floods, and then I was in Vegas!
But I'm back with lots of work. I've been making up some samples for Make-n-Takes for a stamping/mixed media retreat that's happening down in Nashville at the end of this month. I did a tag, a card and an ATC. Here they are:


I hope now that things have settled down and I'm in the swing for my summer teaching scheduler I can get back to posting regularly. I hope you are all doing well!

Friday, May 23, 2008

A necklace for my Grandmother

I finished this necklace yesterday for my Grandmother. It's a belated mother's day present. originally, I tried making her a pin, because she is the kind of person who wears pins, but I had nothing but trouble with it. Finally, I gave-up. Which is rare for me. Normally, I stick it out. Oh well.
But I came up with this instead:
The acrylic shrine tag is from Retro Cafe Art Gallery. The man in the photo is my grandfather, who passed away a few years ago. (I don't know why there are those weird spots on the charm in this picture, because in real life there aren't any.) The heart charm is shrink plastic that I embossed with pearl-ex and them stamped onto when cool.

Sunday, May 18, 2008

Art Journal Page

I know I haven't published many photos from my journal lately. That's partly because I've had so much design team and other work (like my mom's mother's day gift) that I haven't been working in it much. But it's also because I what work I have done over the last month is being published in Page By Page, so I couldn't put it up here.
But I did do this page today and thought I'd put it up. It's acrylic and Copic marker.

Saturday, May 17, 2008

Elsie in New York

I got a couple of these really cute lady buttons from Coffee Break Designs--via Retro Cafe Art Gallery but could not for the life of me figure out what to do with them. And then was flipping through an old book and found a story titled "Elsie in New York" and I had an idea. So I made this card for my friend Sarah, who is leaving for New York in a few weeks.
Then, still feeling inspired, I pulled out my sewing machine and made this:

I am totally digging these buttons!

Thursday, May 15, 2008

Sew Charming

Sometimes life just comes together in the right way. IAA is having a charm swap this weekend and I spent some time the last 2 weeks coming up with a fabric design for a charm. (I'll post pics of them tomorrow, hopefully.) And then I read on PaperArtsy's site about this contest they're having and everything just fell into place. Why not make charms? So I made this bracelet.
Some of the charms are shrink-plastic and the rest are made out of a fabric called duck-cloth. I cut it in strips and then stitched it together--stuffing it slightly and then attached the charm via a eyelet. I have to say, that my crop-a-dile was perfect for punching the holes in the fabric. When they were done I used a little fray-check on the sides.

All the stamps are, of course, paperartsy.

Tuesday, May 13, 2008

Clear Book

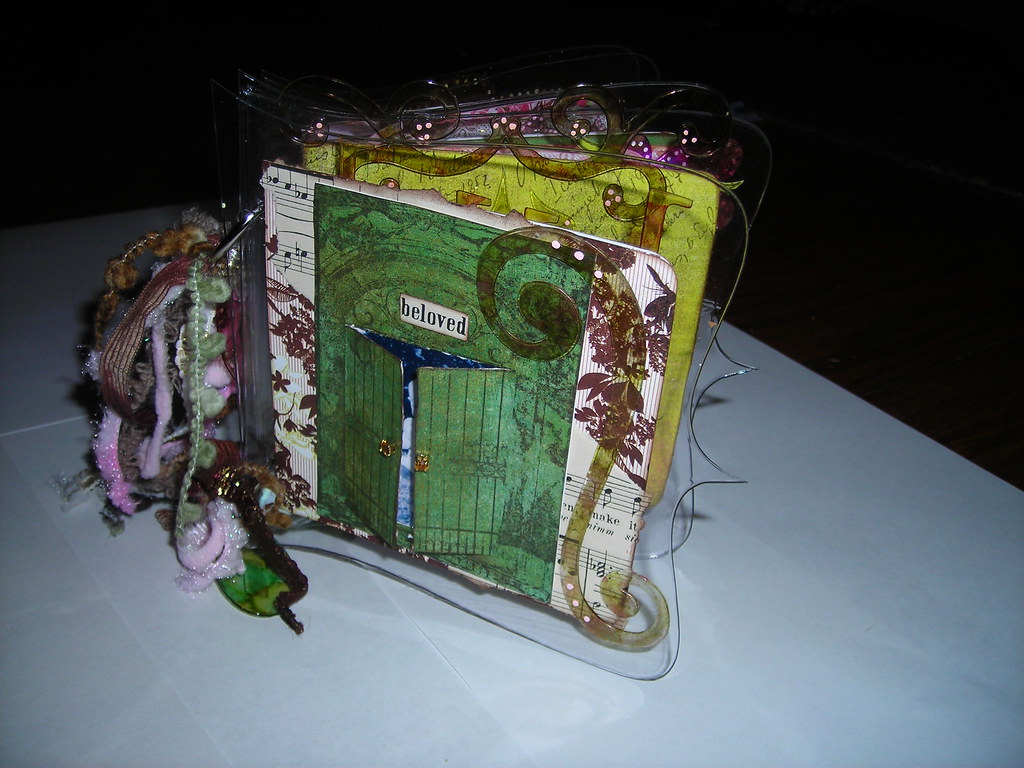
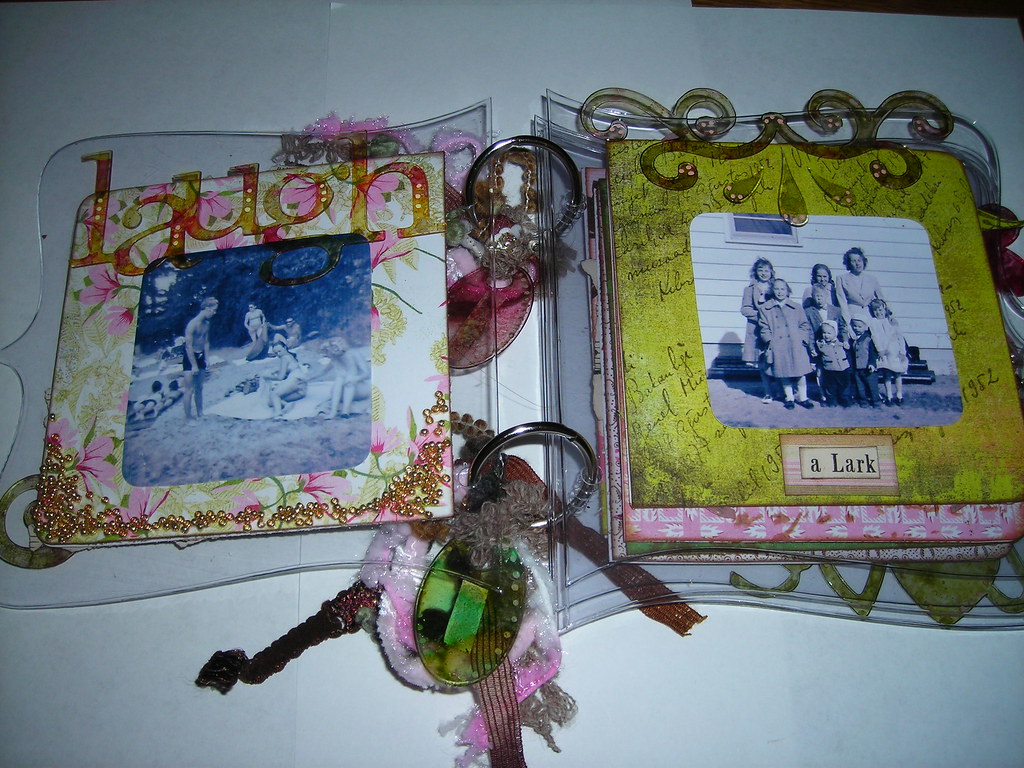
For mother's day I made this little clear acrylic book using a kit by Fancy Pants. It's really great--it comes with the pages and a bunch of acrylic die cuts. I didn't even use half the stuff that came in the box it was so full!
Here are 2 shots of the cover, one closed and one being held open. The baby in the image is my mother. The stamp is by Paperbag Studios.

Here is a shot of the book propped-up. I used alcohol inks on most of the die-cuts, and then accented them using a souffle pen.

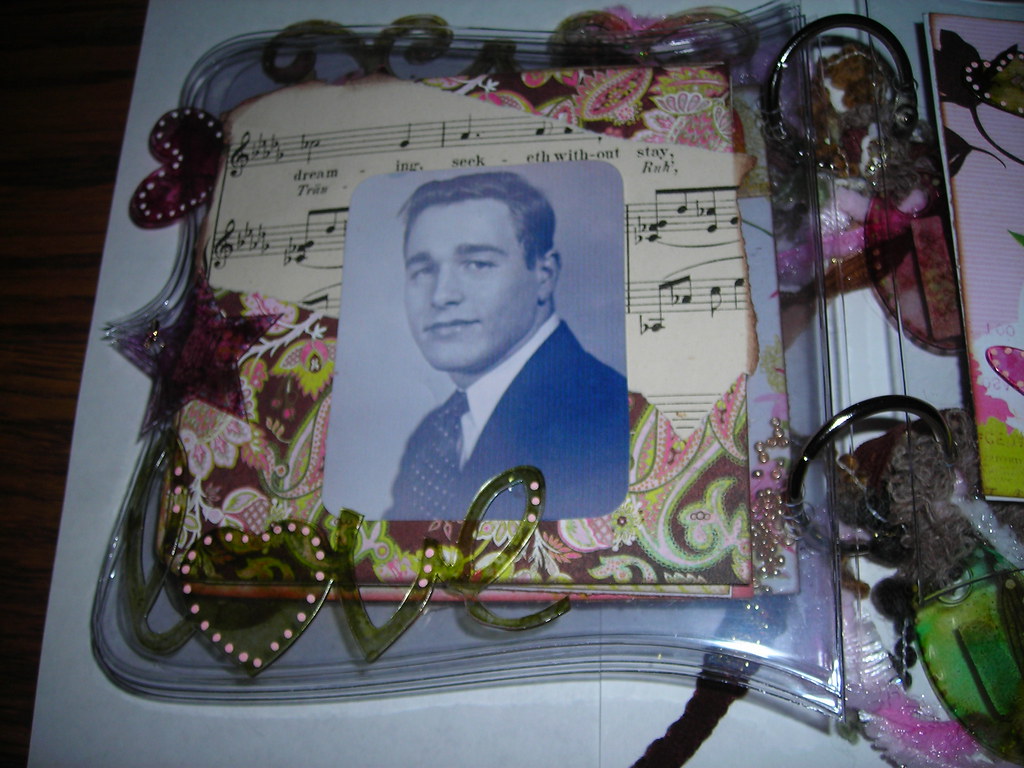
Here is a spread I did with a photo of my grandfather and some vintage sheet music.
Here is another spread that I did. I used some gold beads on the bottom of the first page along with some diamond glaze.

I wanted to give a big thank you to Audrey, who was so kind in helping me out with my glue issue. I probably would've thrown the book through a window, if not for your kind help.

Wednesday, May 07, 2008

ATC Shrine

Here are some photos of this great ATC shrine that I made as part of my design team work for Retro Cafe Art Gallery. The shrine is made out of wood that comes in a big sheet that you punch out and glue together. It can be painted or inked. I used distress crackle paints on mine.
Here is a side view--I actually made the ATC using mounting foam so that the boy looked like he was in a shadow box. But I don't think it shows very well in the pictures. You can, however, see the mounting tape in this picture.

And so that you can see the scale, here is a photo of it hanging on the wall in my studio.

Monday, May 05, 2008

Trees and a Window

As promised here is some new art. The first is a card I made using alcohol inks and a stamp by paperbag studios. I used the ink blending tool to ink the edges of the image in coordinating inks. One of the things that I love about Ranger products is that the colors all coordinated. It makes matching up colors a snap. I'll try to post a how-to for this background as soon as I can.
Here is another little something I made as part of my design team work for Retro Cafe Art Gallery. I used a stamp from Stamper's Antonymous for the image and then added a little bit of paper glaze to give it the glass-like look. I used chalk-inks to color the window--I just heat set them.

Sunday, May 04, 2008

Rant & A Thank You

Today, my friend Kris and I went down to Nashville to do a little shopping and walk around. It was a lovely day. We stopped by Wishful Thinking, which is the store I do some teaching and design team work for to pick up some stuff for a project I'm doing for Marlene (my boss) and then wandered over to another paper/stamping/scrapbooking store in town. Now, let me say up-front that while theses stores both sell art supplies, the gestalt of them is very different. It's like apples and oranges. They are so different, in fact, that they've both managed to stay in business in a very small town. Well the owner of the store kicked my friend and I out because she recognized me as someone who teaches for Wishful Thinking.
I am not kidding.
What confuses me is what did she really think I was going to do?
I'll tell you what I was planning on doing--buying something. (Oh! The Horror!)
I could not believe it.
And what struck me the most about it is how very contrary it is to the philosophy of so many mixed-media artists out there. It got me thinking about how very generous so many of the folks are with their techniques, their time and their posts. Just off the top of my head I can think of 10 artists that regularly post how-to's on their website, who are never to busy to answer questions or emails, and who generously share what they know. I'm not just talking about people who do this for fun, I'm talking about some biggies, like Tim Holtz, Marry-Jo McGraw, and Michelle Ward.
So, I wanted to officially say thank you to all you wonderful folks, big and small, who so generously share your art and yourself with us.
And for the store owner, I have to say, I feel sorry for you. I really do. I can't imagine what it must be like to live in a world where there is only room for you.
OK, here ends my rant.
Tomorrow I will be back with art.

Thursday, May 01, 2008

Wednesday Stamper

The theme for this week's Wednesday Stamper is stripes and since I don't have any stripped stamps, I made this using my handy dandy ink blending tool! The Laughter stamp is by Hero Arts and the clown is a Zettiology stamp. For step-by-step instructions on making the stripes, scroll on down this post!

To do this project you will need glossy cardstock, ink blending tool (or make-up sponges which can be used for stazon/glossy cardstock combination), Stazon inks in various colors and painter's tape.


Take strips of painters tape and mask off the glossy cardstock. Like so:

Using your ink blending tool, ink up and then ink the cardstock. You want to pull it in straight lines and not in circles. Here is what it will look like:

Then, remove the tape and you will be left with little stripes.
You can then re-lay new tape down, covering the stripes and repeat the previous steps with a different color.

Here it is with two colors.
And with three....

If you really want to get wild, you can lay the tape, stamp and then ink. I like to use two different shades of the same color, like light brown and dark brown. Here is what it looks like with the tape still on:

Pull up the tape and viola!

If you have any questions you can always email me, by clicking the link up above.

Tuesday, April 29, 2008

Design Team Work

I've been busy doing more design team work for Retro Cafe Art Gallery today. I made these three cards with new collage images. I am just in love with this little girl! This first one I used a acrylic paint on the "adore" stamp. (Sorry, it's clear acrylic, and I don't remember who made it.) The parenthesis are from a punch that I bought a Archivers.
More Punches for the second card. The Happy is actually one big stamp by Hero Arts that I cut apart. The Swirls are by autumn leaves (Recognize these Bev??) and the text is by Stampington.
Can you tell I was in a mood to use my punches?? I made the buttons on the flowers with a little alcohol ink. The swirls are by inkadinkado, and the Italian text is by Hampton Art Stamps.

Sunday, April 27, 2008

A couple more ink blending cars

I made a couple more ink blending tool cards (to see my demo click here). Both of the stamps are by Paperbag studios. The first card I blended chalk ink in three different colors. Instead of leaving the center clear, I worked straight across. I like the look of the chalk inks, but it does lacks the pop of the distress inks.
For this one I used pink distress inks and followed the same pattern I did in the demo, but before I attached the center picture, I spritzed the card with some water to create some spots. If you look closely, you can see them.

Saturday, April 26, 2008

Mini-Shrine

Here are some pictures of another one of my creations for Retro Cafe Art Gallery. It's a mini-shrine, which comes with all the parts cut out of some kind of thick board. Here is a picture with a dime for scale:

For the head, I actually used shrink-plastic in black and stamped onto it with white Stazon ink. When it was cool, I coated it in a clear embossing powder because a lot of the time the image will rub off (even when stamped with Stazon.) The stamp I used is by Lost Coast Designs.
Here is a shot of the back. I don't know why it came out so blurry! But you get the general idea.