I am massively late to the dance on this one--the band has packed up and the floor is littered with confetti. But I feel the need boogie-oogie all by my lonesome for a moment.
I'm talking about the challenge for the
GPP street team for June. It was a rubbing technique, which I won't go into details here since Ms. Ward did such a bang-up job explaining it herself, so you can just follow the link.
While I was trying out the technique something wonderful happened. I was having trouble finding the right paper weight. Too thick, I got no image, too thin, it would tear with water. I was sitting at my very messy table pondering weather or not to throw in my crayons when my eyes lit-upon a piece of tyvek that I'd left out for another project.
For those of you who don't know what I'm talking about, Tyvek is some super-duper-space-age-material that isn't quite plastic, isn't quite paper. It's manufactured by Dupont and wonderfully enough, is the stuff that they use to make the priority mail packages at the USPS. You know the ones that they give away for free....
Anyway, this stuff is water-proof, tear proof, and does fun stuff when heated. Best of all, it is thin, so it's perfect for doing a rubbing. Here is what I did with it. I Should mention that I heated the edges to cause it crumple and bubble a bit; which is why it isn't flat.

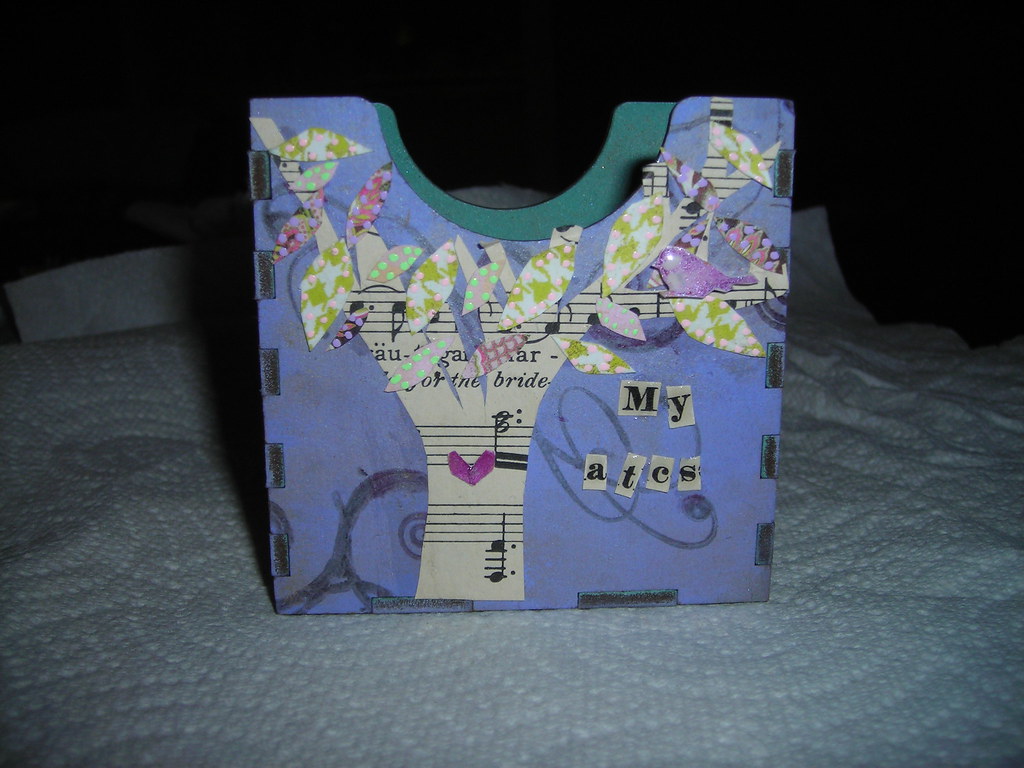
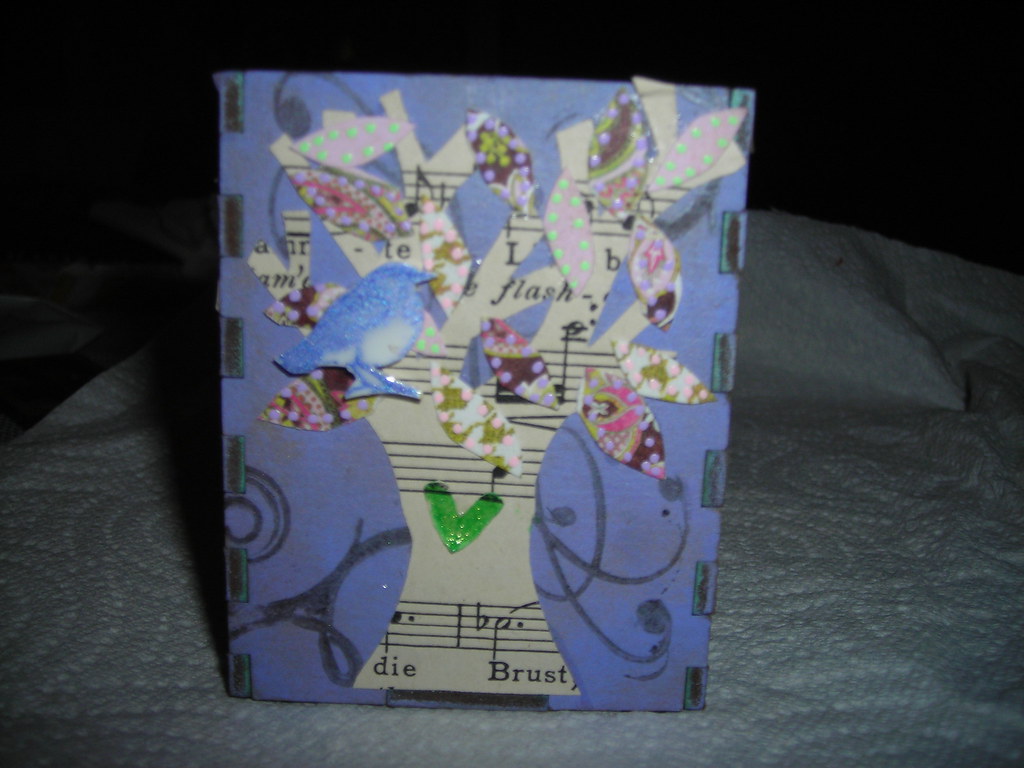
And here is how I incorporated it into a piece in my art journal:

I have to say, I'm just in love with this technique. I'm going to hit the post office tomorrow and then off to a cemetery to get some rubbing's....
 Each of the children have wings that were made from a stamp that I embossed with gold.

 These were a lot of fun to do--I've got one more that I think I'm going to do, not for the swap, but just for me!

 The roof tiles are paper that I punched out using a 1 inch punch and inked the edges of.
  The butterflies are all made out of shrink-plastic. I used white shrink-plastic, stamped with Stazon black ink, and then after it was shrunk, I inked over the surface using chalk ink and embossed. The black comes right through and the color gives it a little added dimension.


 I made this as a gift for a friend of mine who is in the middle of working on her doctoral dissertation on Polish feminist bloggers. I find this topic incredibly fascinating since I myself am two out of three. She has been incredibly generous with me in not only discussing her work, but mine as well. Debating artist philosophy, meaning and process with me over email. I count myself blessed to have such a wonderful and giving friends. Artists and non-artists alike.


 I like to pre-mark my holes so that they are even, using a light colored sharpie. They need to be far enough in so that the drill bit won't break through the outer edge. Then, with a steady hand, drill through. Go slowly and try to put even pressure on the top of the drill.


 I've been hard at work on some other projects, so I'll try to be good about posting this week. I hope everyone had a happy 4th.